
Raindrop\'s Huimu Vision adopts an integrated design of AI image recognition technology, embedded display screen and light source controller. Real time image display, efficient and stable, ultra-low power consumption, simple installation, and convenient operation.
Learn more >
The Hui vision developed by Raindrop uses an integrated AI image recognition technology with built-in display and light source controller. Real-time image display, high efficiency and stability, ultra-low power consumption, simple installation, convenient operation.
Learn more >
The Hui vision developed by Raindrop uses an integrated AI image recognition technology with built-in display and light source controller. Real-time image display, high efficiency and stability, ultra-low power consumption, simple installation, convenient operation.
Learn more >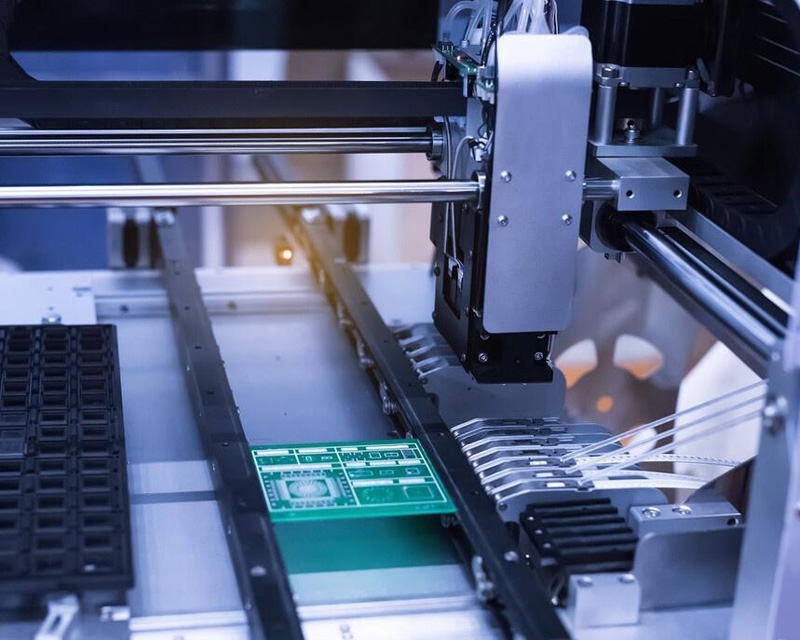
The Hui vision developed by Raindrop uses an integrated AI image recognition technology with built-in display and light source controller. Real-time image display, high efficiency and stability, ultra-low power consumption, simple installation, convenient operation.
Learn more >Shenzhen raindrop Technology Co., Ltd. is a leading provider of machine vision and digital high-frequency power solutions and products in China. In recent years, the company has applied its experience accumulated in embedded solutions and product development to the field of machine vision and digital high-frequency power supply. It is unique and has formed a series of products with distinctive characteristics in miniaturization, high integration and ease of use.
The intelligent vision developed by raindrop adopts AI image recognition technology with integrated design, embedded display screen and light source controller. Real time image display, high efficiency and stability, ultra-low power consumption, simple installation and convenient operation. It is widely used in various application scenarios such as screening and loading, quality detection, and collaborative manipulator grasping and alignment in automatic production.
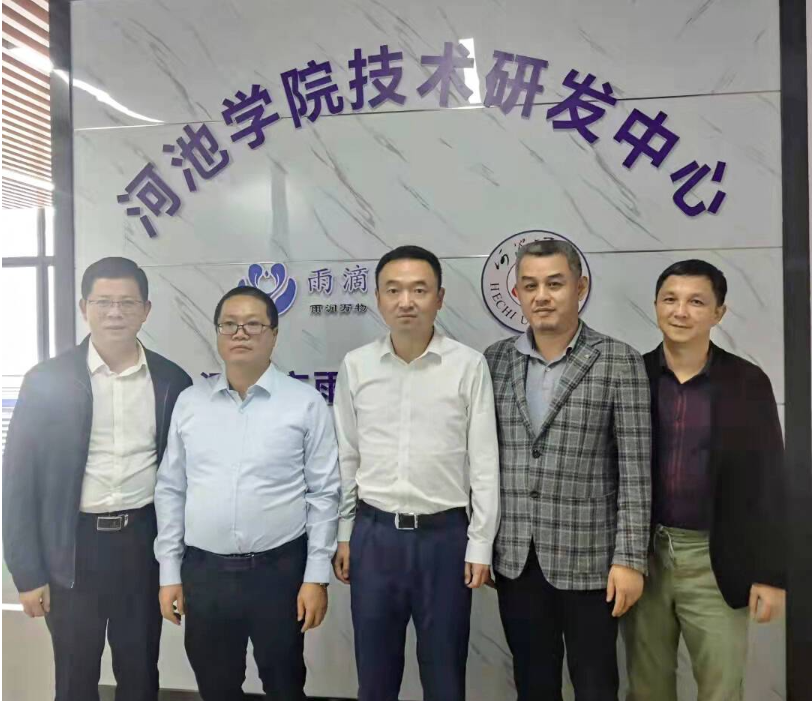
Recently, raindrop technology and Hechi University jointly held the signing ceremony of strategic cooperation between school and enterprise talents and the listing ceremony of training and employment base in Hechi University. The president of the hospital miaojian, President Peng and the founders of raindrop wangshiwei and zhengdezhi attended the ceremony.
Good news! Raindrop technology stands out among many small and medium-sized enterprises with its excellent innovation ability and the advantages of specialization, refinement, characteristics and novelty, and has won two honorary certificates of Shenzhen innovative, specialized and new small and medium-sized enterprises.
The 2023 CSFE Heat Treatment Exhibition was grandly held in Shanghai from November 29th to December 1st. Raindrops revolve around the theme of induction heating, focusing on photovoltaic, hard alloy saw blades, sawtooth welding, medical tracheal welding, and electronic industry applications. They bring innovative application solutions such as full line ultra-high frequency induction heating equipment, ultra-high frequency induction heating machines, and wire harness induction heating welding machines, providing customers with multi industry, full scenario, and digital induction heating solutions.
On November 27th, the long-awaited DMP Shenzhen Industrial Exhibition in the manufacturing industry opened for four days. Raindi made a stunning debut with its smart vision, visual screening machine, and external size positioning detection equipment. The diversified solutions it showcases have attracted visitors from all over to visit and consult, and the on-site crowd is surging.
The difference between smart cameras and industrial cameras, in short: smart cameras are highly integrated micro machine vision systems; And industrial cameras are one of the components of machine vision systems.
Visual sensing technology is one of the seven major categories of sensing technology. Visual sensors refer to sensors that calculate the feature quantities (area, center of gravity, length, position, etc.) of objects by processing images captured by cameras, and output data and judgment results.
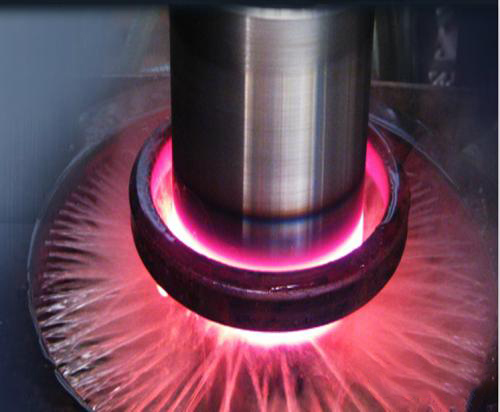
The main advantages of induction heating are: ① no need for overall heating, minimal deformation of the workpiece, and low energy consumption. ② No pollution. ③ The heating speed is fast, and the surface oxidation and decarburization of the workpiece are relatively light The surface hardening layer can be adjusted as needed and is easy to control Heating equipment can be installed on mechanical processing production lines, making it easy to achieve
It is 3/4 more energy-efficient than traditional heating methods (electronic tube high-frequency machine gas, gas furnace, electric furnace, coking coal), and is safe without the risk of high-voltage electric shock. It can work continuously for 24 hours without open flames, which is more in line with fire safety regulations; Fast heating: The fastest heating speed is less than 1 second, and the speed can be adjusted and controlled. Wide heating: It can heat various types of
The principle of high-frequency induction heating is to arrange an induction coil inside the furnace. The high-frequency oscillating current passing through this coil will generate electromagnetic induction phenomenon in the furnace, thereby quickly generating strong induction current on the surface of the metal device to be heated.
With the rapid development of society and the decreasing dividend of human resources in China, many enterprises are facing difficulties in recruitment, difficulty in managing personnel, high salaries, and heavy burdens.
Everyone should know that well maintained mechanical equipment can save you a lot of unnecessary trouble, prevent sudden problems from delaying normal production during the production process, and also enhance the service life of testing equipment. How to maintain your visual inspection equipment?
We all know that equipment that uses machine vision inspection systems to detect the appearance and size of products is called visual inspection equipment. Machine vision inspection is currently a high-precision, high-efficiency, and high-precision detection method for detecting surface defects and appearance dimensions of products, which is more reliable and efficient than manual inspection. However, machines are not omnipotent, and their quality can also affect the accuracy and safety reliability of detection. So, do you know what are the key factors that affect the detection performance of machine vision systems?
 Scan and add wechat
 Wechat official account


